VMware Workstation Player is the limited capability free (for non-commercial use) version of VMware Workstation Pro. That is, it is just as VMware Workstation Pro with lesser functionality and free for personal use. But what is available is enough for most of the home users.
VMware Workstation Player formally known as VMware Player is a Virtualization software used to run multiple virtual machines on the same hardware. Its available for both Windows and Linux based operating systems. It runs on 64 bit operating system, which means that if you have 32 bit operating system, you will not be able to use it.
Earlier, VMware Player was distinct from VMware Workstation. But now they have been merged. That is to say, VMware Player is now available as VMware Workstation Player which shares the same core as the VMware Workstation. The only difference is that, VMware Workstation provides all the features, where as VMware Workstation Player is a stripped down version of VMware Workstation pro and does not have all the features.
But the good part is that VMware Player is free for non commercial use and provides enough functionality for Home and non commercial users. It provides enough features to be able to run a virtual machine on a home computer.
| VMware Workstation Player is not a commercially supported application. That is VMware does not provide support for it. But there are sufficient help available online. Once you start using it, you will see that the way you use it is similar to VMware Workstation pro . |
This is the direct link to download VMware Player 16 for Windows 10. Please note that this is a 64 bit application. VMware no longer supports 32 bit Operating Systems.
In this blog, I will be using VMware Player Version 16.1.0, Installer file name is VMware-player-16.1.0-17198959.exe and is about 220 MB in size
Run the installer
Start the installer by double clicking it. You might see User Account Control Warning. Click Yes to continue.
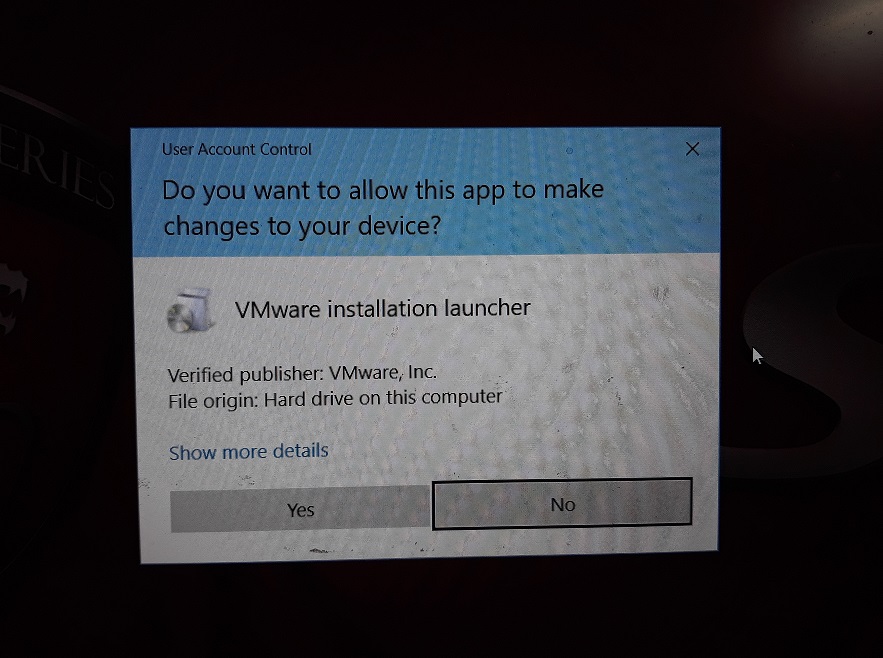
VMware Player 15 – Installation – User Account Control Warning
VMware Player 16 Installation – Initial Splash Screen
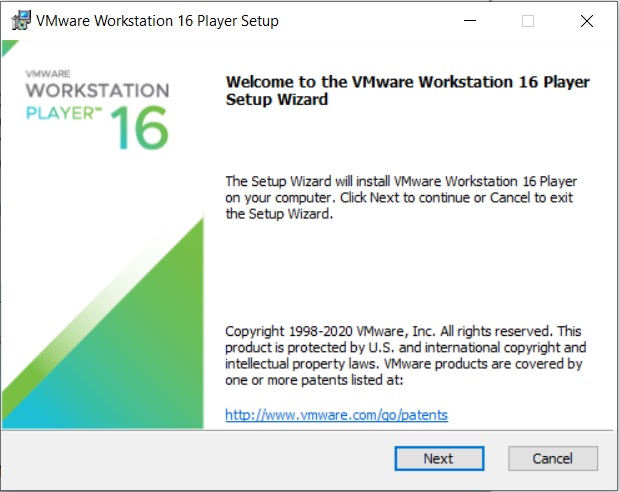
VMware Player 16 Installation – Setup Wizard
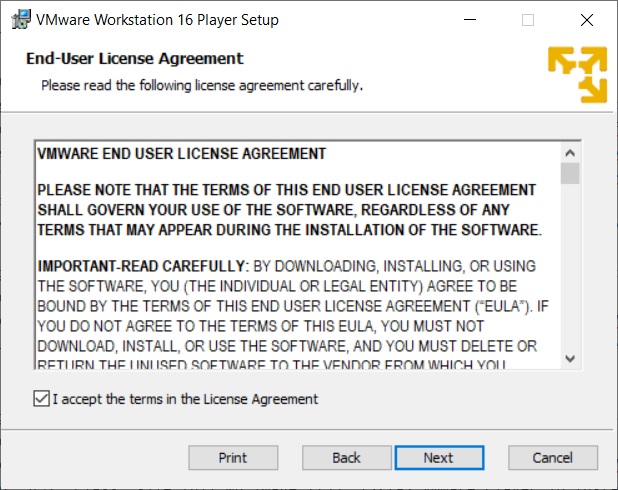
VMware Player 16 Installation – End User Agreement
Custom setup – Enhanced Keyboard driver and Installation directory
In this dialog box, please select the folder in which you want to install the application. I leave it as it is. Also check the box Enhanced Keyboard Drivers option. Click next.
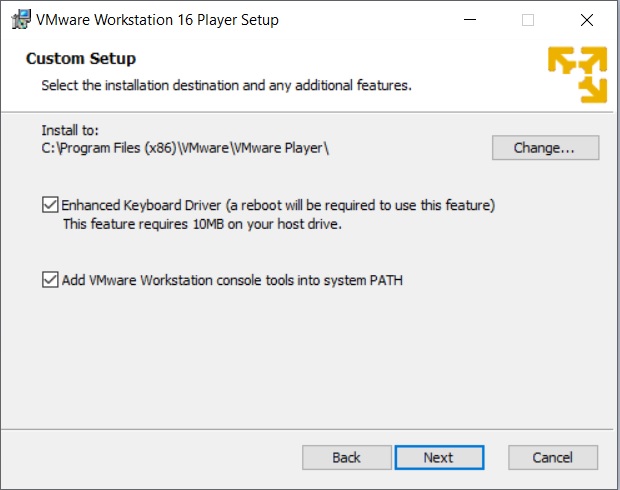
VMware Player 16 Installation – Custom Setup
User Experience Settings
Check the options for Check the product update at Startup and Join the VMware Customer Program. I normally leave it as it is. You can unchecked it if you so desire. Click next
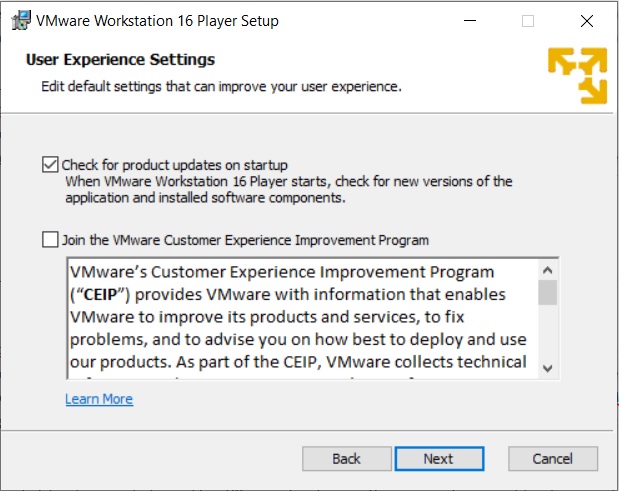
VMware Player 16 Installation – User Experience Settings
Select where the shortcuts will be installed
Check the box where the shortcut to run the application will be created. I leave it as it is. Click on next.
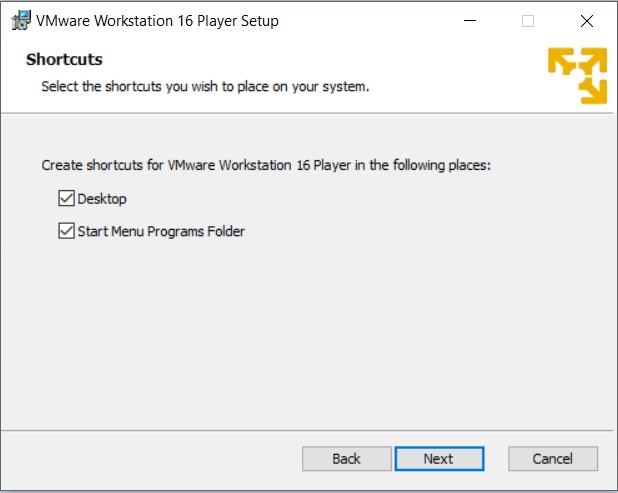
VMware Player 16 Installation – Shortcuts
Ready to install
Now the installation wizard is ready to install. Click on install to begin the installation.
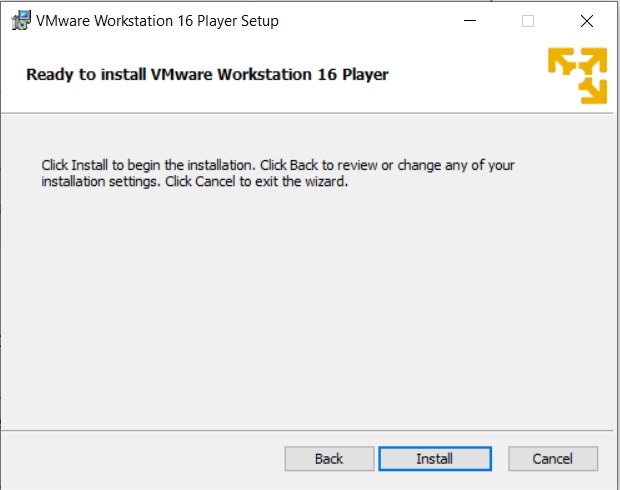
VMware Player 16 Installation – Ready to Install
After sometime, you will see installation compete message. You are done.
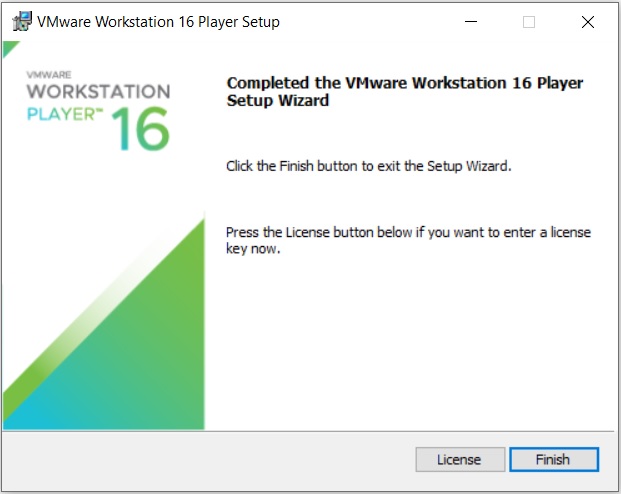
VMware Player 16 Installation – Installation Complete
You will be asked to restart your system. Click on Yes to restart. Click No, if you want to restart later. But you must restart before using the application, else some features will not work properly.
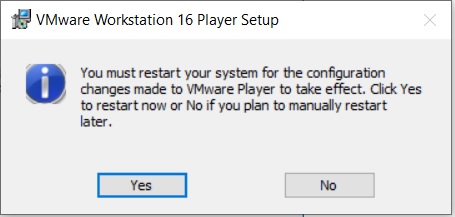
VMware Player 16 Installation – Reboot Required
License
Now Run the application. You should see a desktop icon. Douple click on that or use the start menu to navigate to VMware Player option.
Once you run the application for the first time, you will be asked for licence. Select the option Use VMware Workstation Player 16 for for free for non commercial use.
Click continue.
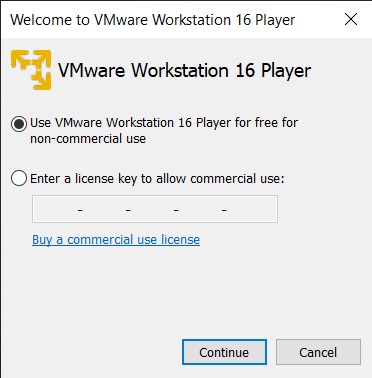
VMware Player 16 Installation – License
Click on Finish.
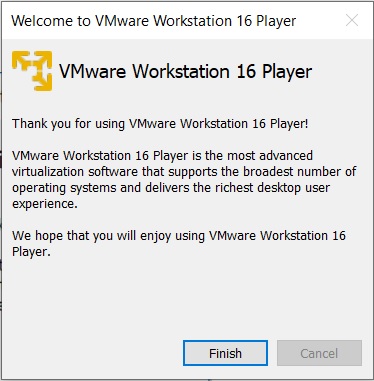
Now you will see VMware Workstation Player 16 ready to be used for free for non-commercial purpose.
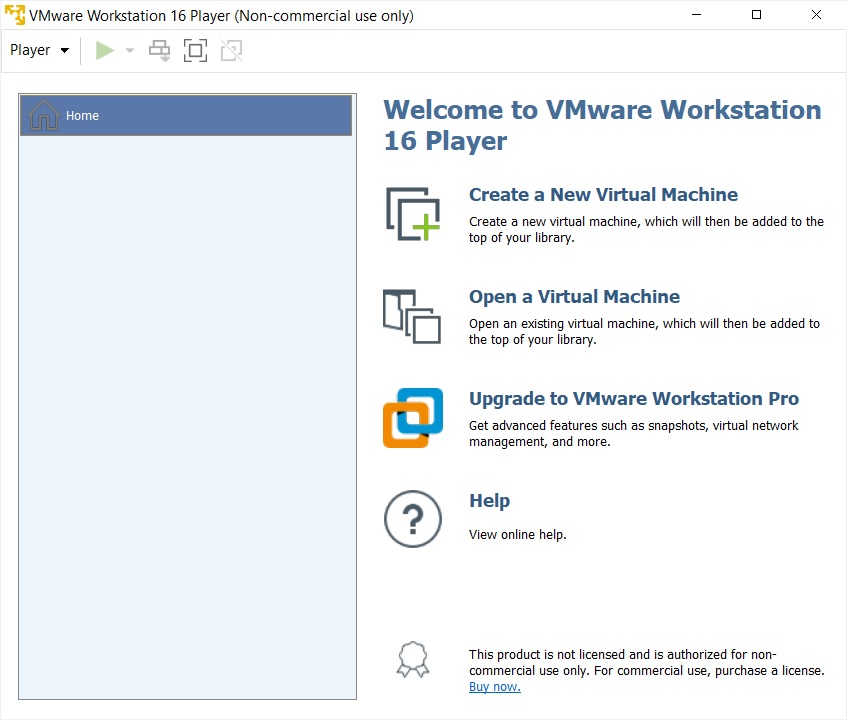
VMware Player 16 – Home Screen
After Installing VMWare Workstation, you can use this link for installing Linux Software and NS2 Software.
Vmware Workstation Player In Windows >>>>> Download Now
ReplyDelete>>>>> Download Full
Vmware Workstation Player In Windows >>>>> Download LINK
>>>>> Download Now
Vmware Workstation Player In Windows >>>>> Download Full
>>>>> Download LINK BI
ReplyDeleteA really great blog post. We really appreciate the blog post you wrote.
VMware Workstation Pro